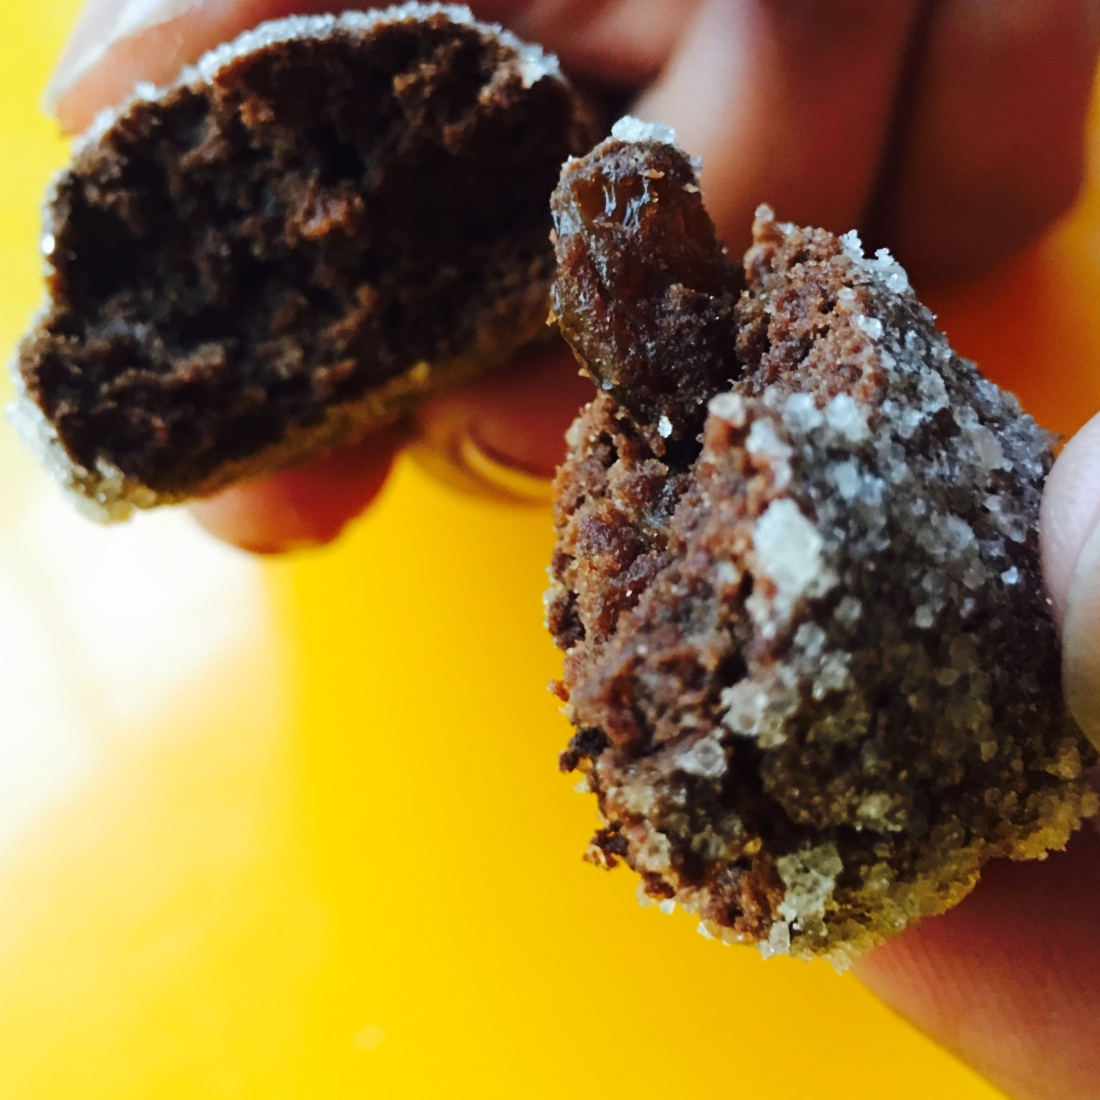
Flourless Butter Oatmeal Cacao Cookies! Easy to convert to Vegan version!

Today’s recipe is absolutely a no-brainer. My kid and I made these together chatting, laughing and catering to the needs of a little monster without much attention to the measurements.The outcome is perfect. Take my word.

Let’s get into the recipe right away !

Ingredients

  1. Quick cooking Oats – Approximately one cup
  2. Cacao Powder – half cup
  3. Brown sugar – 4 TableSpoons
  4. Cashews – cut into small pieces – About 10
  5. Peanut Butter – 2 Tablespoons full
  6. Two Ripe Bananas
  7. Vanilla Extract
  8. Two Mejdool dates cut into small pieces
  9. Half stick of unsalted butter at room temperature

NOTES

  • I  added cashews and Dates but feel free to add any nuts and dried fruit
  • I coarsely blended oats but that is optional

Vegan Version

  • Just replace butter with Coconut oil. You will need 5-6 Tablespoons.

Procedure

  • Preheat the oven to 350 degrees F
  • In a medium bowl, cream together bananas, brown sugar, butter, vanilla extract, peanut butter.
  • Mix oats, cacao powder, dates and cashews pieces to the mixture and combine everything well.Make sure you do not over mix.
  • Grease the baking tray. Roll the dough into balls and place 1 inch apart on the cookie tray.Flatten each cookie with fork.
  • The cookies will not expand in size.Bake them for 15 minutes and allow them to cool for 5 minutes before serving.

Well, That is IT! A perfect energizing evening snack along side plant-based milk or regular milk is ready.

I usually ask readers to try if they like the recipe.However, I urge all of you to prepare these for their nutritional value. Oats are among the most nutrient-dense foods you can eat.Combined with cacao, nuts coconut oil, dates and bananas, this turns out to be a powerhouse of energy. 

There is a saying in Hindi, “Ann se mann”, which means food becomes you and influences your mind and emotions. Lets eat well and live well:)

Cheers!

See you all with my next post

♥♥♥♥♥♥♥♥♥♥♥♥♥♥♥♥♥♥♥♥♥♥♥♥♥


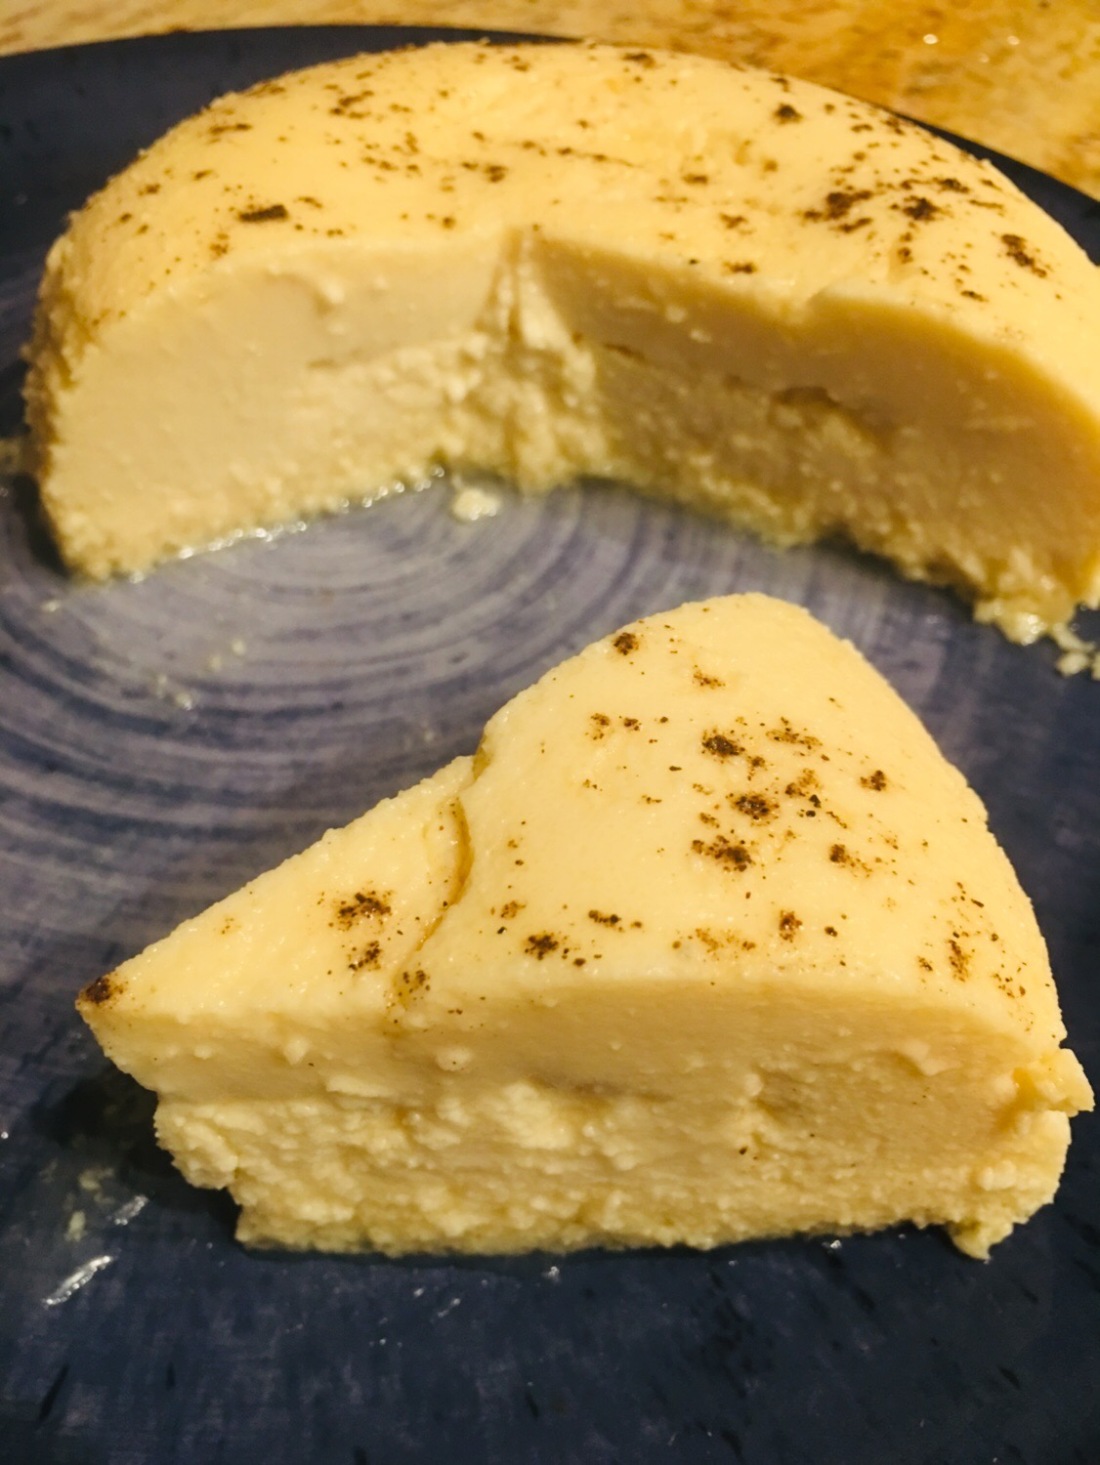
Indian traditional Cow’s Colostrum Milk Cake,without Colostrum Milk – Easy to prepare and delightful to eat !

Hello There!!

Today’s recipe belongs  to the category of “no-one-can-get-it-wrong” and “no-one-can-eat just-one” !

This Milk cake is traditionally prepared using the colostrum milk that a cow produces for the first few days after it delivers a calf. At my native place, neighbors share this often and my grandmother used to make this once in a while. I wanted my kids to taste “junnu” (as we call it locally) and I looked for alternatives and came up with this recipe after experimenting with different ingredients and with different proportions.

IMG_8118 (1)

Lets look into the recipe!

Ingredients

  • 1 cup thick yogurt
  • 1 cup whole milk
  • 1 cup sweetened condensed milk
  • 1/4 – 1/2 cup milk powder
  • 1 teaspoon of cardamom powder (optional)
  • 1/2 teaspoon of black pepper powder(optional)

Notes:

  • Make sure the yogurt is REALLY thick. I use Greek Yogurt, but if you are using regular yogurt, strain the yogurt using a cheese cloth and put it in the refrigerator over-night.
  • I prefer a mild version of yogurt that is not too sour.
  • Sweetened condensed milk can be substituted with Jaggery but I liked the taste of this version better.

Procedure

  1. Mix yogurt and condensed milk in a bowl and whisk it till the consistency is smooth.
  2. Add milk powder and whole milk and whisk again.
  3. Use a steamer or pressure cooker to steam this mixture for 40-45 minutes.
  4. Check if the fork comes out neat and if yes, the cake is ready.
  5. Put the bowl on a wire rack to cool completely.
  6. Refrigerate for one hour.
  7. Cut to desired pieces and serve.

Notes:

  • If you are using a pressure cooker, put a plate after adding water and then place this bowl on top of the plate.
  • Do not place whistle on the cooker!

If you liked this recipe, you know what to do:)

Please Like, share and comment!

Will come back with new recipe in few weeks!!!

Chau♥

♥♥♥♥♥♥♥♥♥♥♥♥♥♥♥♥♥♥♥♥♥♥♥♥♥♥♥♥♥♥♥♥♥♥♥♥♥♥♥♥♥♥♥♥♥♥♥♥♥♥♥♥♥♥♥♥♥♥♥


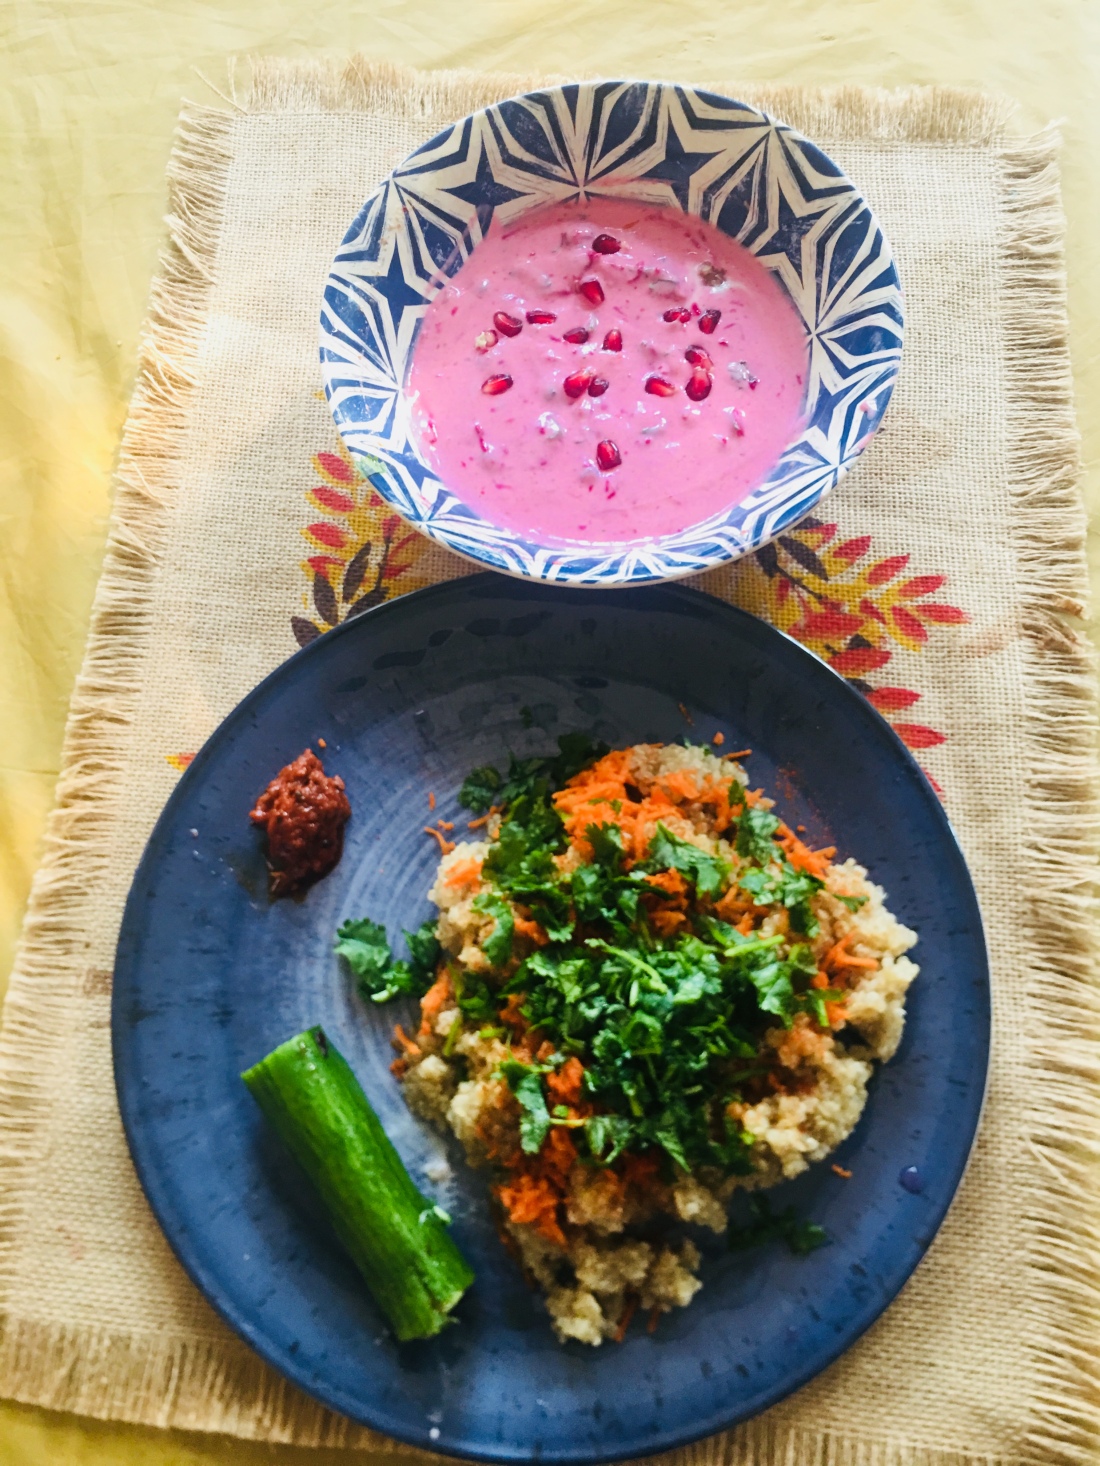
Delicious and Nutritious Lunch special ! Quinoa with Beet Yogurt on the side

Hello Everyone !

Its been a while, isn’t it? There are so many things I want to share with you all and today I am able to get(read as “grab” lol) some me-time. So, without wasting further time, I will get straight to the point. This week onwards, I will share my lunch menus.Whats special about these menus is that they keep you full, energetic, suppress the need for post-lunch naps and last but not the least, you wouldn’t be running for coffee soon after your lunch. Yay !

If the above reasons are enough , do try the recipe ASAP 😀

Quinoa – put in simple words – is a wonder. It is a  power-house of vitamins, it has low glycemic-index, gluten-free and high in protein with all essential amino acids.

IMG_2011

To make this super-grain lunch, we need

  • 1 cup Quinoa
  • 1 cup grated carrot
  • 1 cup peas
  • 1″ ginger crushed
  • half onion
  • Salt, turmeric and black pepper
  • 1 tableSpoon Cumin seeds/powder
  • BIG cup of cilantro/coriander
  • Salt according to your taste
  • 1 tableSpoon lime juice

Procedure

  • Cook Quinoa according to packaging instructions
  • Warm a pan over medium heat. Add olive oil and saute onion till translucent. Then stir in ginger and cumin for 30 seconds or so. Be careful not to burn.
  • Then add rest of the vegetables. Combine these with cooked Quinoa and add salt, cilantro and drizzle lime juice before serving.

Beet Yogurt

  • 1 beetroot grated
  • 1 tablespoon all-spice powder/Cumin powder
  • 1 cup Greek Yogurt
  • Pink Himalayan Salt according to your taste
  • 1 teaSpoon of black pepper

Procedure

  • Whip the yogurt and add the ingredients above!  I added some pomegranate seeds which is optional.

That is it, my friends!

Please do not forget to like, comment and share with your near and dear if you liked the recipe.

Chau! See you with next healthy, nutritious and yes, easy to make lunch item with ancient grains!


Ancient Indian Hair-oil to achieve couple hair goals – soft, shiny texture and Retain hair pigment !

Who does not like  thick, long and lustrous hair?

Catering to these needs ,there are various versions of all-in-one hair oils for “long, thick, reverse greying, root-strengenthing” with tons of ingredients in them like onion juice, curry leaves, garlic,orange-peel so on and so forth.

Adding everything to the oil has two disadvantages

  • Adding too many ingredients to your oil will not address the hair issue specific to one person, thereby  not reaching your hair goals.
  • The odor of the concoction will not motivate you to apply often.

So, after a lot of experiments , I divided hair oils based on hair goals.Today, I will share the recipe for retaining the softness and pigment of the hair.

If your hair goals include soft, shiny hair and to delay the process of graying, Lets go ahead for the recipe, ways to apply the oil and what to expect!

Note: I added possible FAQs below, but feel free to ask any questions in the comments!
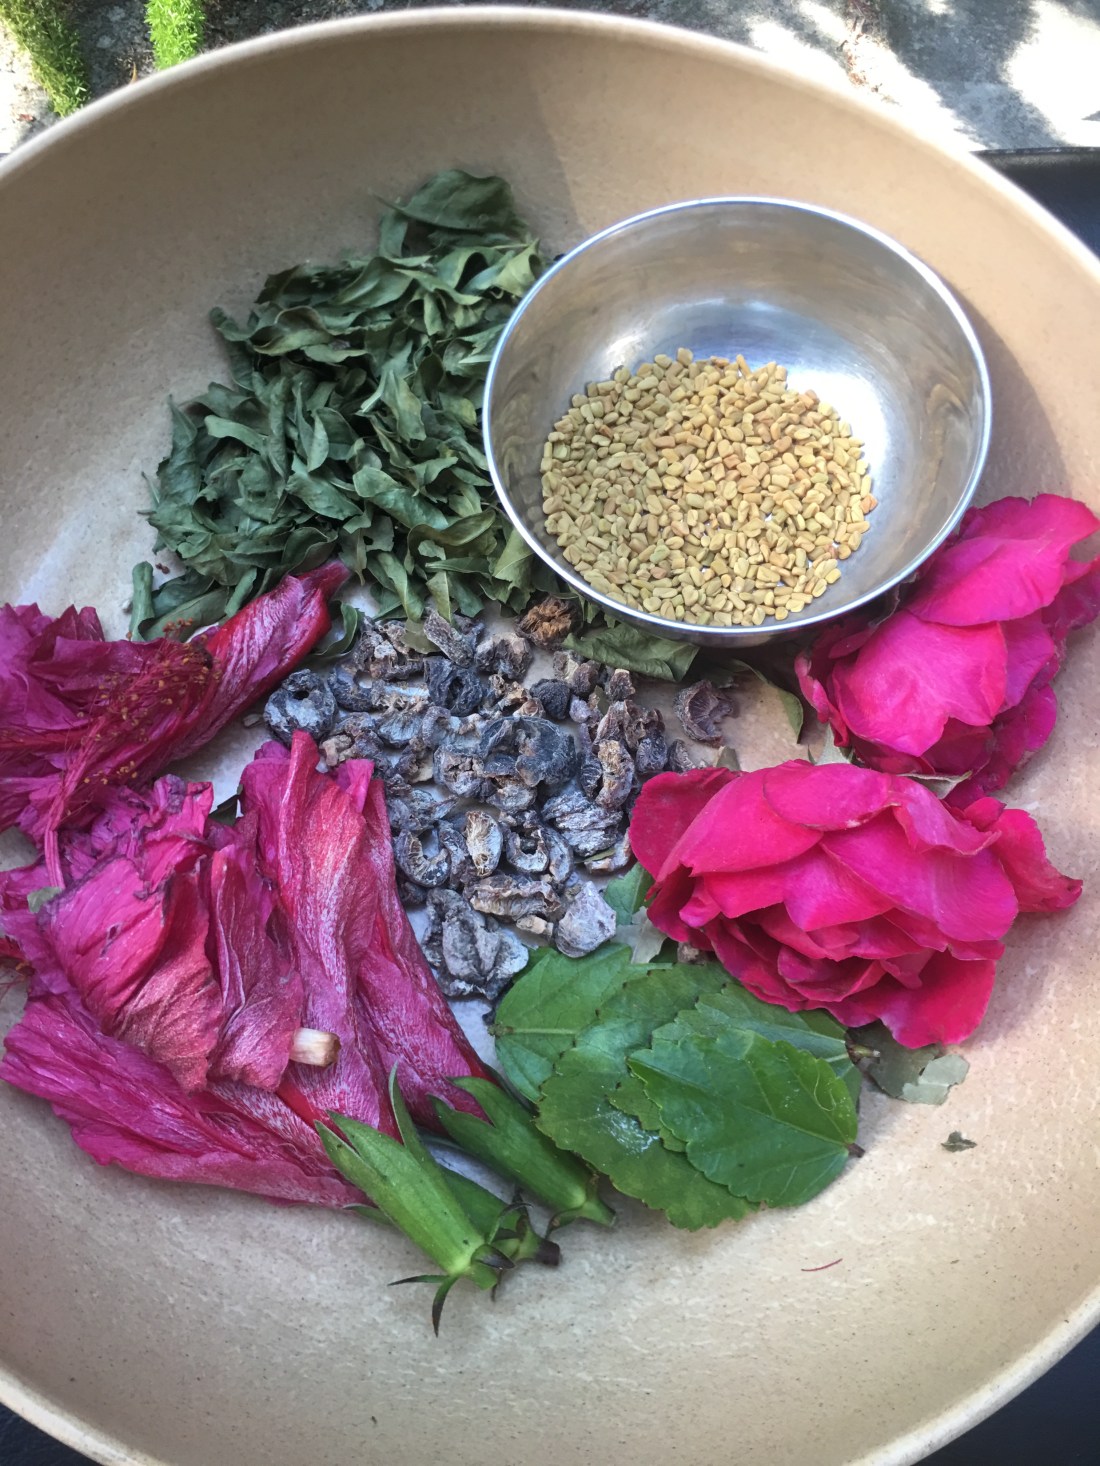
IMG_0943

Items needed:

  1. Hibiscus flowers  and leaves – 4 to 5 each
  2. Rose flowers – 2
  3. Dried Indian gooseberry/amla – half cup
  4. dried henna leaves(optional) –  4 Tb Spoons
  5. Methi seeds – 4 Tb Spoons

Oils:

  1. Organic Extra-Virgin Coconut oil – 1 cup
  2. Organic non-toasted Sesame oil  – 2 Tb Spoons
  3. Organic Castor oil – 2 Tb Spoons
  4. Lavender Essential oil – 2-3 drops each

Procedure

  1. Remove the petals of the flowers  and leaves – wash thoroughly under running water
  2. Dry them in the sun if it is the early morning time  and when the sun is still rising. Any other part of the day, dry them in the shade.
  3. Heat the oils in a pan. I opted for iron pot but any other pan/pot – mud or stainless steel is good enough. Avoid other kinds of material.
  4. The heat should always be low . Add amla , methi ,dry henna leaves
  5. Let them simmer for 1-2 minutes
  6. Now add the flower petals and leaves
  7. Oil will start foaming a bit which is perfectly natural
  8. Once all the ingredients start to change their original color , switch off the stove and let it cool
  9. Make sure you are not burning anything here. In 5-7 minutes, you can switch off the stove.
  10. Some people like to heat this until everything turns black.The color changes to black with the low-heat setting in about 10 minutes.However, this is not preference as I would like to leave the oil smelling good.
  11. Filter the contents and transfer the oil to an air-tight glass container
  12. Now add the essential oil. This is the optional step but I found that this motivates me to apply the oil more frequently.
  13. I usually share my recipes with my best friend and she commented that she could drink the oil:D .So that’s the proof!


Important info/possible questions:

Why hibiscus and Rose flowers?

When the hair goals are manageability, strong roots and delay graying – the first plant that comes handy is Hibiscus. This has been used for centuries as conditioner, cleanser, face mask so on and so forth. Rich in Vitamin C and amino acids, Hibiscus penetrates deep into the roots, thus encouraging re-growth and greatly improves texture and volume of the hair.

Rose is rich in Vitamin C and Vitamin E and greatly used to moisturizer the hair, adds shine and prevents breakage.

Can I add dry flowers if I cannot find fresh flowers?

Yes! One of my friends was kind enough to let me pluck fresh flowers from her garden but the second time I made this recipe, I had no fresh flowers available. So, I used the dried ones. Its equally good!

How frequently should I apply the oil?

Well, that depends on your lifestyle or the weather conditions. I live in a very dry climate and I apply once in 3 days and leave it overnight. I wash my hair the next morning. But, for my kid I apply as and when I see that the scalp is dry. Sometimes, I apply the oil to my roots when my hair is still wet after washing my hair.

How to apply?

Believe me, you only need few drops! Dip your fingers in the oil and apply to the roots. Massage in circular motions.Then dip your fingers once again and apply to the ends. Use a brush that has wide seperations and comb well in one direction – root to the end, Make sure that the brush touches your roots when combing the hair.

When can I start seeing the results?

There is no single answer for everyone. Your age, lifestyle and pollution should be taken into account.Moreover, this is not a quickfix. But, I can assure you that you will start seeing the change in you hair texture after few uses.

Where can I buy these?

Online:)

Side-effects?

None that I know of. The ingredients have been used for thousands of years for hair needs.Everything is natural. However, use only “Organic” as much as possible.

Allergies?

I would suggest making a small batch and apply few drops for first use to see how your hair responds. 

♥♥♥♥♥♥♥♥♥♥♥♥♥♥♥♥♥♥♥♥♥♥♥♥♥♥♥♥♥♥♥♥♥♥♥♥♥♥♥♥♥♥♥♥♥♥♥♥♥♥♥♥♥♥♥♥♥♥♥♥♥♥♥♥♥♥♥♥♥♥

OK, dear friends! This is it 🙂 Let me know if you liked this recipe.

Chau! See you all with the most-loved, super-easy-to-make and my most popular “Eggless Chocolate cake” in my next post.


Tasty and Healthy Spinach Pesto Sauce – One secret sauce for your Pasta, Fried Rice, Frankie, Zoodles and so on..


The recipe that I am going to share today will make your kids eat their greens without their knowledge, will make your guests ask for another serving of pasta, will make your toddler eat the entire sandwich loaded with goodness 😀

These are the basic recipes that are “quick-to-make on a hectic day” and can be converted into elaborate meals depending on our time and creativity.

Ingredients

  1. Spinach
  2. Nuts of your choice
  3. Black pepper 
  4. Himalayan salt
  5. half garlic pod
  6. Oil of your choice

Directions 

Blend, Blend, Blend with some water to make it into a creamy paste.


Recipes

Penne Pasta with Spinach PestoKids’ favorite at playdates

  1. Cook pasta according to the packaged directions
  2. Sauté the veggies of your choice with tofu or Indian cottage cheese/paneer in Olive oil
  3. Add the spinach pesto and cook for one minute
  4. Add pasta 
  5. Pour about 3 table Spoons of milk and the drained pasta water
  6. Add parsley and serve with grated cheese

Spinach Fried Rice – A quick fix with leftover rice

Note: Add some red bell pepper to the spinach pesto and blend

  1. Melt butter in a pan and add veggies of your choice
  2. Add corn, peas , red onions and cook till they are softened.
  3. Add couple cloves and raw sesame seeds
  4. Add spinach pesto and cook for a minute
  5. Add rice and continue to cook till the rice turns a little crisp
  6. Add salt if needed

Spinach pesto Veggie Sandwich – Easy, Healthy and tasty lunch box option for kids

  1. Spread the pesto mixture on one slice and tomato sauce on the other
  2. Add red, yellow thinly sliced bell peppers  and basil leaves 
  3. Add the spice mix* (details below) 
  4. Be generous with the cheese and spread it over the sandwich. I love the grated Italian blend that I get from whole foods.
  5. I add a thick slice of paneer sometimes  but this is optional
  6. Grill and serve  with avocado slices on the side

Veggie Frankie

The above recipe works for this too!         

Spice mix

  • fennel seeds powder – 1 Tsp
  • coriander powder – 1 Tsp
  • white pepper powder – 0.5 Tsp
  • cayenne pepper (optional) – pinch
  • salt


If you would like to know any more recipes, please post it in your comments and I will answer asap!!

Will come back with an amazing hair oil recipe in my next post.

Till then, Chao!

🌺🌺🌺🌺🌺🌺🌺🌺🌺🌺🌺🌺🌺🌺🌺🌺🌺🌺🌺🌺🌺🌺🌺🌺🌺🌺🌺🌺🌺🌺🌺🌺🌺🌺🌺🌺🌺🌺🌺🌺🌺🌺🌺🌺🌺🌺🌺🌺🌺🌺🌺🌺🌺🌺🌺🌺🌺🌺🌺🌺🌺🌺🌺🌺🌺🌺🌺🌺🌺🌺🌺🌺🌺🌺

Delicious Eggless Chocolate Crinkle Cookies – Three Variations – Vegan option too !

Recipe of today is the most loved by my family and friends. I have experimented with these by changing the type of chocolate, by adding or not-adding some ingredients. I (and and some of my friends too ) can vouch that every time it tasted heavenly.

So, lets dig into this superrrrr recipe !!!

IMG_0574

Ingredients 

  1. Semi- Sweet Chocolate Chips  –  1 Cup
  2. Butter –  1/4 Cup – Cool it to room Temperature
  3. Powdered Sugar – As per taste
  4. All purpose flour –  1 Cup + 2 Tb Spoons
  5. Baking powder – 3/4 teaspoon
  6. Baking soda –  1/4 teaspoon
  7. Vanilla Extract – 1 Tb Spoon
  8. Milk – 1/4 Cup

Method of Preparation

  1. Preheat the Oven to 325 F/160 C
  2. Melt the Chocolate chips and let them cool
  3. In a large bowl beat butter,sugar, Vanilla extract until light and fluffy
  4. Stir in the melted chocolate into the butter mixture until it is well blended
  5. Sieve the All purpose flour , Baking soda and Baking Powder and combine these dry ingredients to the wet ingredients.
  6. Make this into a firm dough which does not stick to the hands
  7. Add some milk if you feel that dough is too firm or it is difficult to combine
  8. Drop dough by rounded tablespoons (after rolling them in powdered sugar) about two inches apart onto lightly greased cookie sheet
  9. Bake 10-12 minutes .
  10. Let it cool slightly before removing from the cookie sheet

Note

  • Bake 10-12 minutes only.
  • Leave the cookies to cool before transferring them to another container
  • Thet are supposed to be soft and have cracks in between.
  • You could use icing sugar too but I prefer powdered sugar.

Second Variation With Cocoa Powder 

  1. I used TCHO Cocoa powder (from Whole Foods) in this second experiment instead of semi- sweet chocolate chips
  2. Cocoa powder – 1/2 Cup
  3. Butter –  1/2 Cup
  4. Powdered Sugar –  1/2 Cup .The Cocoa powder did not have sugar. So, the quantity of sugar will change
  5. Milk – 1/4 Cup. You can keep adding milk till the dough combines
  6. All Purpose flour – 3/4 Cup

Note

  • As this had more dry ingredients than wet ingredients, the quantity of butter and milk changed.

Third Variation (VEGAN)

  1. Cocoa Powder (TCHO from Whole Foods) – 1/2 Cup
  2. Organic Extra Virgin Coconut oil  – 1/2 Cup
  3. Coconut Sugar – 1/2 Cup
  4. All Purpose Flour – 3/4 Cup

The method and the baking time are the same in all three variations!

Check out the pics below for more clarity. Hope you will like it !

Please like, share, comment 🙂 Your feedback is important 🙂

Will share my ” Omega 3, Anti-oxidant Rich Energy Bar” in the next post!

Till then, Chau !!

♥♥♥♥♥♥♥♥♥♥♥♥♥♥♥♥♥♥♥♥♥♥♥♥♥♥♥♥♥♥♥♥♥♥♥♥♥♥♥♥♥♥♥♥♥♥♥♥♥♥♥♥♥♥♥♥♥♥♥♥♥♥♥♥♥♥♥


Super quick recipe for mango ice cream, with minimal ingredients!

My childhood memories are filled with the gracious mango tree that decorated our front yard. The enticing and fresh smell of ripe mangoes, kids pelting stones at the tree for the mangoes, we running to pick them up as soon as they dropped, my grandfather keeping soaking them in water before we could eat. Mmmmm.. just amazing!

It is not at all an exaggeration to say that many of us wait for summer to begin celebrating these magnificent fruits. The number of options that mangoes provide for quick delights, is endless: from long-lasting pickles (with just raw mangoes, salt, red-pepper, oil & mustard powder), to desserts, ice-creams and juices.

Today, I would like to share a simple recipe that you could use to prepare a home made mango ice-cream, with minimal ingredients, and in just few minutes.


IMG_0682

Ingredients

  1. Fresh Mangoes (Any kind – Mexican Style Mangoes, Indian Style mangoes – Kesar, Banginpally ) and puree them – 1/2 Cup
  2. Whipping Cream – 1 Cup
  3. Condensed Milk –  1/4 Cup
  4. Saffron soaked in one tablespoon of milk  – Pinch
  5. Cardamom and Fennel Seed powder – 1 Tb Spoon ( less cardamom and more fennel)

Procedure

  1. Take a chilled bowl and start whipping the cream till soft peaks are formed
  2. Fold in Sweetened condensed milk, mango puree, saffron ,cardamom and fennel seed powder
  3. Cover the bowl and store in freezer if you would like it to be icecream
  4. Store in refrigirator if you would like to use it as a topping on pancakes or waffles

Notes

  1. There could be many variations to this. One can add nuts of their choice and/or food color.
  2. I do this year after year with same ingredients as I felt this is more authentic.Also, with less ingredients, the taste of mangoes with subtle flavor of saffron and fennel seeds tastes heavenly.

Exquisite Oatmeal – The best way to start your day!

The whole meal in the Mornings – Super Healthy and Tasty!

If I have to mention two foods I love the most, I would say oatmeal and Khichdi.

They are easy on the stomach, super nutritious and are delicious. 
The recipe for my customized Khichdi is on the waiting list and I will post that soon. For now, lets start with the super comfort food, Oatmeal.
 
Before I jump into the recipe, I would like to share some quick facts about oats .
  • Oats are a whole-grain cereal and are among the healthiest grains on the earth
  • They are a good source of fiber, good quality protein and unsaturated fats
  • One variety of oats, Steel cut oats have less glycemic index than its other kinds.
  • Oatmeal is a well balanced breakfast 
For me, experimenting with Oats is a passion as they provide endless possibilities. It is like filling a blank white paper with myriad of colors. Today, I will share one variety that I make frequently as my family loves this including my three year old son!!
Ingredients
  • Oats
  • Flax Seeds
  • Chia Seeds
  • Fruits of your choice
  • Nuts of your Choice
  • Honey/Maple Syrup
  • Coconut (Optional)
  • Raisins/Mejdool dates
  • Pumpkin Seeds/ Sunflower Seeds
Thats it!
2018-03-20-PHOTO-00010041-2
Preparation
1.Cook the oats based on their type. If I use Steel cut oats, I soak them overnight. Else, it takes about 10 mins on stove top.
2. Once cooked, add enough quantity to your bowl and start adding colorful fruits of your choice .
  • I usually add strawberries, blueberries and  banana.
  • For a change, I sometimes cook strawberries(Mangoes in Summer) over low heat with coconut sugar and lemon and pour this mixture over oatmeal
3.Then add nuts of your choice. I add walnuts, almonds and green raisins or Dates
4.Sprinkle soaked chia seeds , flax seed powder and dry coconut
5.Pour honey as needed
Don’t forget to read the notes below to see the variations of what I do !
Notes:
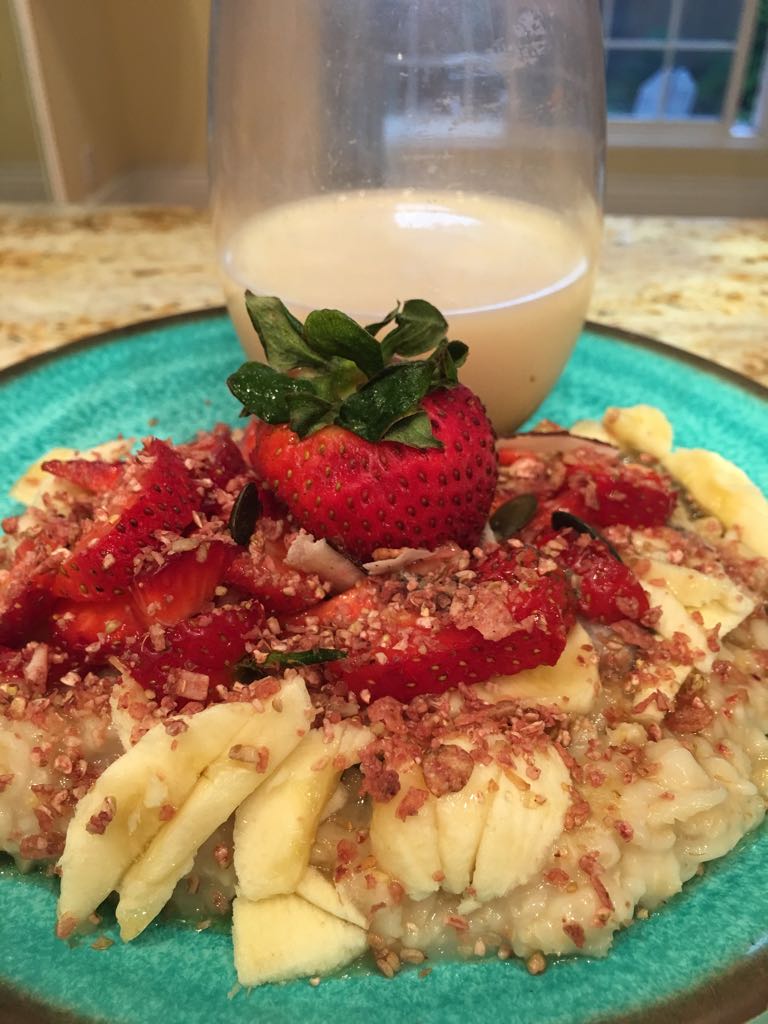
  1. In the above picture, I added Activated Superfood that I got in Whole Foods which is high in Omega 3’s and 6’s
  2. We usually have an avocado , Flax milk or Greek Yogurt on the side with oatmeal
  3. I add less or no honey for my family most of the time because Raisins/Dates have enough sugar in them
  4. Adding Vanilla extract/ Orange Extract gives a different feel to the oatmeal
  5. Make sure you get everything Organic as much as possible
Nutrition Facts:
  • Oats contain Manganese, fiber, Iron, Vitamin B1 and B5,Folate and many antioxidants
  • Fruits are packed with many vitamins, minerals and photo nutrients and everyone should have three to four servings of fruit everyday. They help the human body to be fit, help it rejuvenate and disease-free.
  • Nuts and seeds are rich in energy, protein, packed with antioxidants, vitamins, minerals and much discussed omega-3 fatty acids
  • They have good fats that are good for heart and do not increase the waist line
Do try this and let me know what you feel through your comments below.
Stay tuned to know the “skin benefits” of Oatmeal in my next post!
💙💚💛💜💙💚💛